PyroBlox Fireworks Best Mortars Tier Guide
Which mortar-style fireworks deserve grind slots versus finale-only placement.
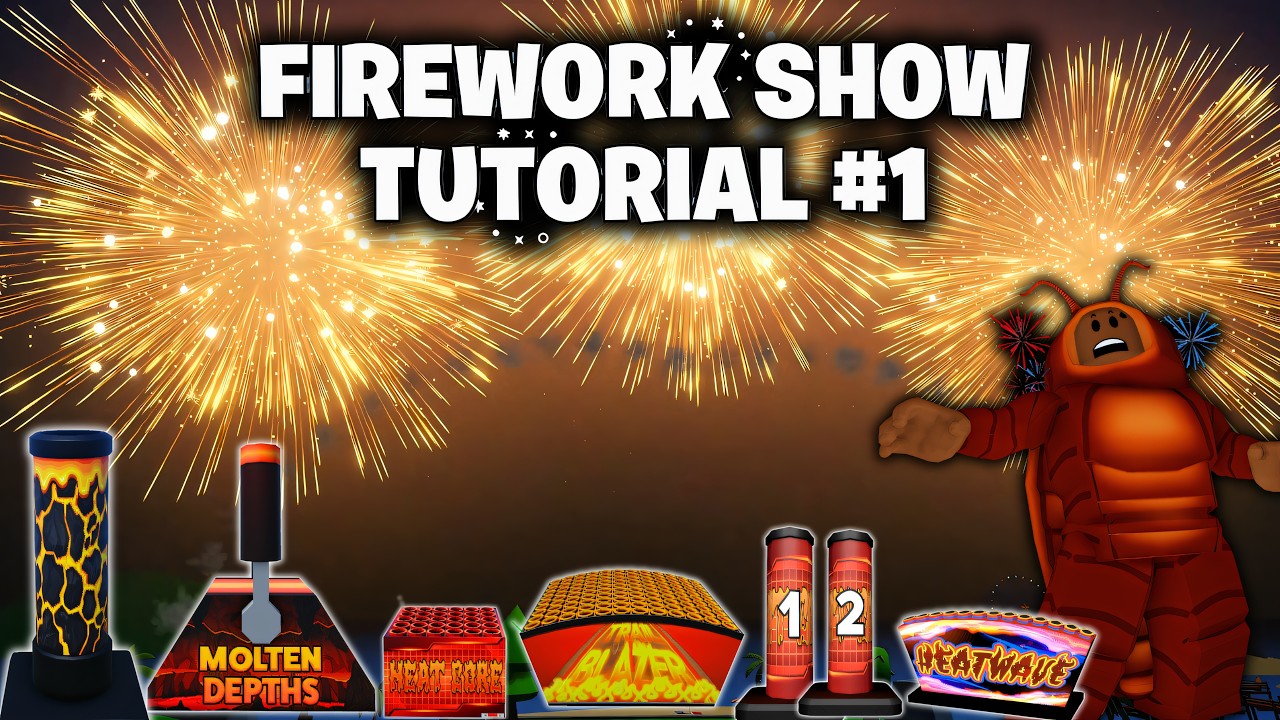
Mortars are the heavy punctuation marks of Fireworks Playground. When a shell climbs and breaks, crowds look up — which is exactly why mortars sit at the center of so many finale designs. They also appear throughout the shop’s reward ladder, so choosing the right mortars matters for both coin efficiency and show craft.
This page expands the mortar lane from the Tier List Hub. Pair it with Best Rockets when you need vertical variety, and with Make a Firework Show when you are ready to fuse-time a finale.
What makes a mortar “best”
Evaluate every mortar SKU on:
- Reward value on the Owned sort — the honest coin number
- Cooldown — can you cycle it across loadouts without dead time?
- Burst readability — does the break stay visible on low graphics and busy servers?
- Footprint — single thick shell versus multi-break patterns that fill skyboxes
- Link behavior — how cleanly it sits in manual fuse chains or Auto Link (Fuse Upgrade)
VIP’s roughly 20% reward bump multiplies whatever mortar you already spam; it does not redefine which mortar wins the sort order.
S-tier mortar roles
S-tier grind mortars are whatever currently tops your accessible reward list with a tolerable cooldown. Because Pseudo Studio ships weekly additions, names rotate — trust the shop’s reward sort more than a year-old YouTube thumbnail. Slot these into primary money loadouts beside top cakes.
S-tier show mortars may earn slightly less but break with distinctive color stories or multi-stage blooms. Save them for counted finales: three left, three right, one center, fused a few hundred milliseconds apart so the sky staggers instead of muddying.
If a mortar is both high reward and gorgeous, it earns dual citizenship — just keep a spare show-only copy in a creative loadout so grind muscle memory does not burn your artistic pieces on AFK loops.
A-tier mortars
A-tier covers:
- Strong mid-game unlocks that print well until true endgame cakes/rockets outclass them
- Themed event mortars with average rewards but excellent palette control for holiday shows
- Reliable “always bring one” shells that fill gaps when your S-tier is on cooldown
Use A-tiers in loadouts 3–7 of a multi-loadout grind (Earn Coins Fast) so placement never stalls.
B-tier mortars
Early shop mortars, novelty shells, and low-reward duplicates belong here. They teach fuse timing and look fine for brand-new players coming from Getting Started, but they should leave serious money loadouts as soon as you unlock better Owned entries.
B-tier still has show value as cheap rehearsal ammo. Practice link timing on inexpensive mortars before you spend a premium shell on a mistimed cue.
Mortars in fuse shows
Mortars love structure:
- Place tubes/shells or standard mortar pieces on a grid with walking lanes.
- Set fuse times so breaks cascade (for example 0 ms / 200 ms / 400 ms across a line).
- Manual link is fine for small counts; Auto Link from Fuse Upgrade (or Tablet Upgrade’s auto option) helps larger grids.
- Trigger with lighter, remote detonator, or firing tablet depending on how far you want to stand for the camera.
Avoid stacking twenty identical loud mortars on the same millisecond — the client turns into soup and the audience sees a white blob. Stagger, alternate colors, and leave gaps for rockets to pierce upward. More choreography notes live in Make a Firework Show.
Mortars vs cakes vs rockets for coins
- Cakes often win raw uptime for grinding because multi-shot beds keep rewarding while you place the next loadout.
- Rockets compete when a limited rocket’s reward/cooldown spikes.
- Mortars win when their reward row is elite or when you value intentional placement over carpet bombing.
A hybrid loadout (2–3 S cakes, 1–2 S rockets, 1 S mortar) usually feels better than a pure mortar backpack, especially before backpack upgrades expand carry capacity.
Level gates and weekly drops
Remember progression math: roughly one level per 1,000,000 coins earned. High-level mortar tabs stay locked until you put time into lighting. Redeem codes to jump early unlocks, then reinvest into the mortar that currently leads your reward sort — not the prettiest locked thumbnail you cannot equip yet.
After each weekly update:
- Check new mortar entries in the shop.
- Compare reward and cooldown to your worst grind slot.
- Update loadouts and this mental tier list.
- Skim Updates Hub notes for event-only shells.
Practical shopping checklist
- Sort Owned by reward before every serious session.
- Keep lighter + fuse on the loadout with your mortars.
- Test one new mortar in a private server at low graphics (Tips and Settings) before trusting it in a public show.
- Retire B-tier shells from money loadouts without deleting them — they remain useful for teaching friends.
Related links
- Tier List Hub — category overview
- Best Rockets — vertical partners for finales
- Earn Coins Fast — loadout cycling
- Make a Firework Show — fuse timing
- Codes Hub — fund the next mortar unlock
Mortars will not carry every coin session alone, but the right shells define how professional your sky looks when the countdown hits zero. Rebuild your mortar picks whenever the weekly drop shifts the reward table, and keep this guide bookmarked beside the shop.
Frequently Asked Questions
Quick answers to the most common questions.
Are mortars better than cakes for grinding?
Not always. Cakes often win uptime, while mortars shine when their reward/cooldown is elite or when you need finale-quality breaks. Compare Owned reward sort on your account.
Should I use Auto Link with mortars?
For large grids, yes — Fuse Upgrade Auto Link (or Tablet Upgrade’s auto option) saves huge setup time. Small finales can stay on manual link.
Why do my mortar finales look like white blobs?
Too many identical shells on the same fuse time. Stagger delays, mix colors, and lower firework FX if the client is drowning.
Do levels lock the best mortars?
Many premium fireworks are level-gated. About one million coins earned equals one level, so grinding and codes both matter for access.